this post was submitted on 19 Apr 2026
17 points (100.0% liked)
Nature and Gardening
8296 readers
19 users here now
All things green, outdoors, and nature-y. Whether it's animals in their natural habitat, hiking trails and mountains, or planting a little garden for yourself (and everything in between), you can talk about it here.
See also our Environment community, which is focused on weather, climate, climate change, and stuff like that.
(It's not mandatory, but we also encourage providing a description of your image(s) for accessibility purposes! See here for a more detailed explanation and advice on how best to do this.)
This community's icon was made by Aaron Schneider, under the CC-BY-NC-SA 4.0 license.
founded 2 years ago
MODERATORS
you are viewing a single comment's thread
view the rest of the comments
view the rest of the comments
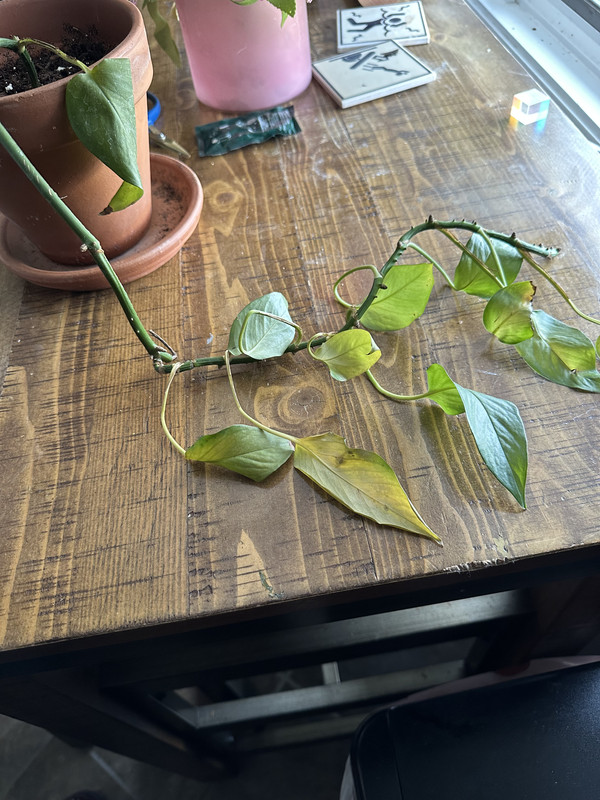
Oh. Oh. That's just not enough roots for that much stem. Let's not be pessimistic though, because you have a lot of material to work with! It will take a few more days, but that's okay too.First, I'm going to give you a picture of what I consider a good start for a rooted division, so you know the kind of look you're aiming for at first.
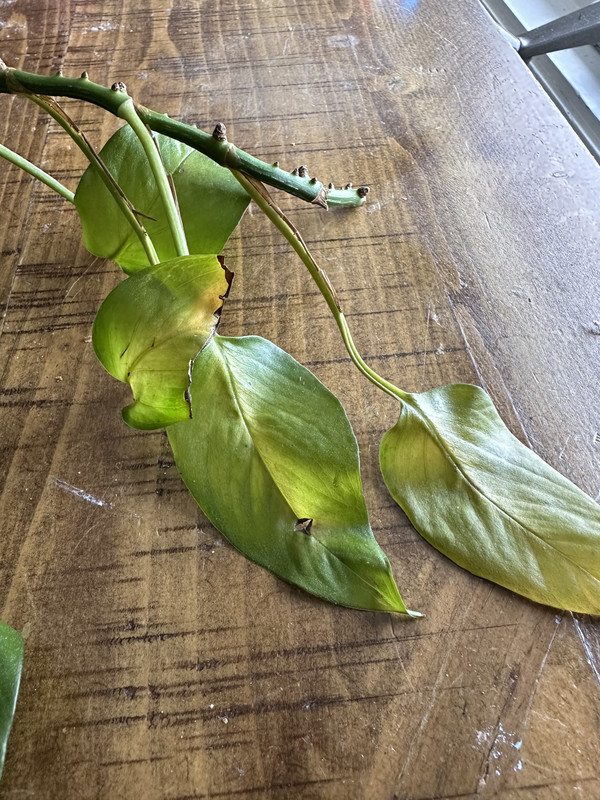
You're going to want to make a few additional cuts to the stem, and a handful of leaves. The little brown nubs are root nodes - they are important, and you want at least two on every section you're about to make. Think of the sections of stem as energy reserves, and do your best to make them long enough to stick out of the jar. It's time to make more plants!
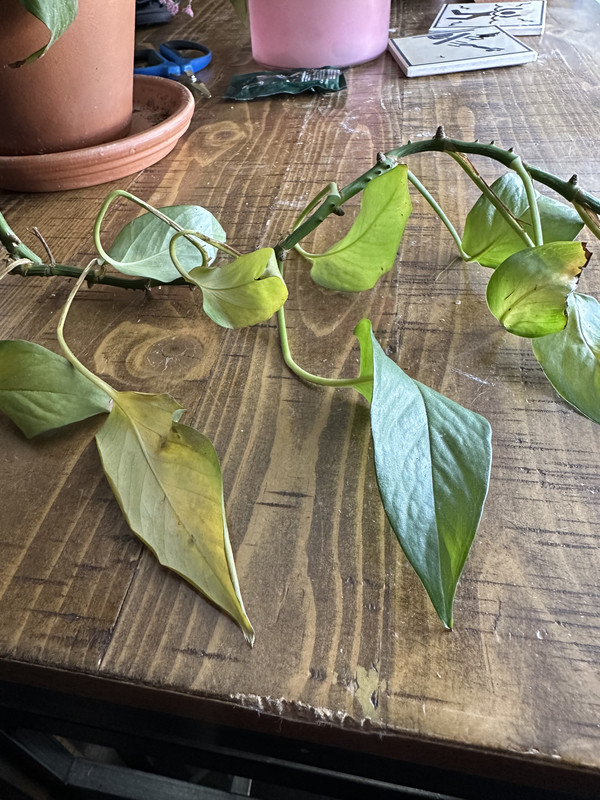
Get a sharp, sterile pair of garden shears. Starting from the rooted bit you have, find the first decent looking leaf. Cut the main stem right above where the leaf connects to it. Don't damage the part where the leaf connects to the stem, because that's where the rest of your new plant will come from at first. Now go further up the stem until you find another mostly green leaf, and cut just above that one too. Go up the stem til you get to the last good leaf. If you want more cuttings than that, select the best from what's left. Remember about stem length.
Now remove every leaf that isn't your topmost/ best of each cutting. Place all your new cuttings into the water jar and let them rest. You'll start seeing some roots start to form after a few days, but if you pull your original rooted section when you see the others that's what you'll be looking for on the ones that stayed in your jar.
There are some succulent-specific substrate mixes you can find at garden stores, or you can see if your locally owned greenhouse will let you fill a bin with some of their high porosity substrate for a few bucks. Either would be good to mix with the bag you already invested in in order to balance out the moisture when you plant all your cuttings. If you don't actually want that many, this is a good time of year (assuming you're in the northern hemisphere) to donate the ones you don't want to a plant sale for a good cause; libraries, food charities, land trusts, and your master gardener volunteer chapters are some of the kinds of orgs you could consider.