101

Welcome fellow prototypers! This communities' purpose is to help others and share functional 3D Printing related information. While other 3D Printing Communities are a good resource, sometimes too many help posts get buried under memes and fluff. This will remain technically focused and keep the fluff removed. Please help your fellow 3D Printer hobbyists as much as you can with their issues! and showcase your functional prints and how you use or created them.
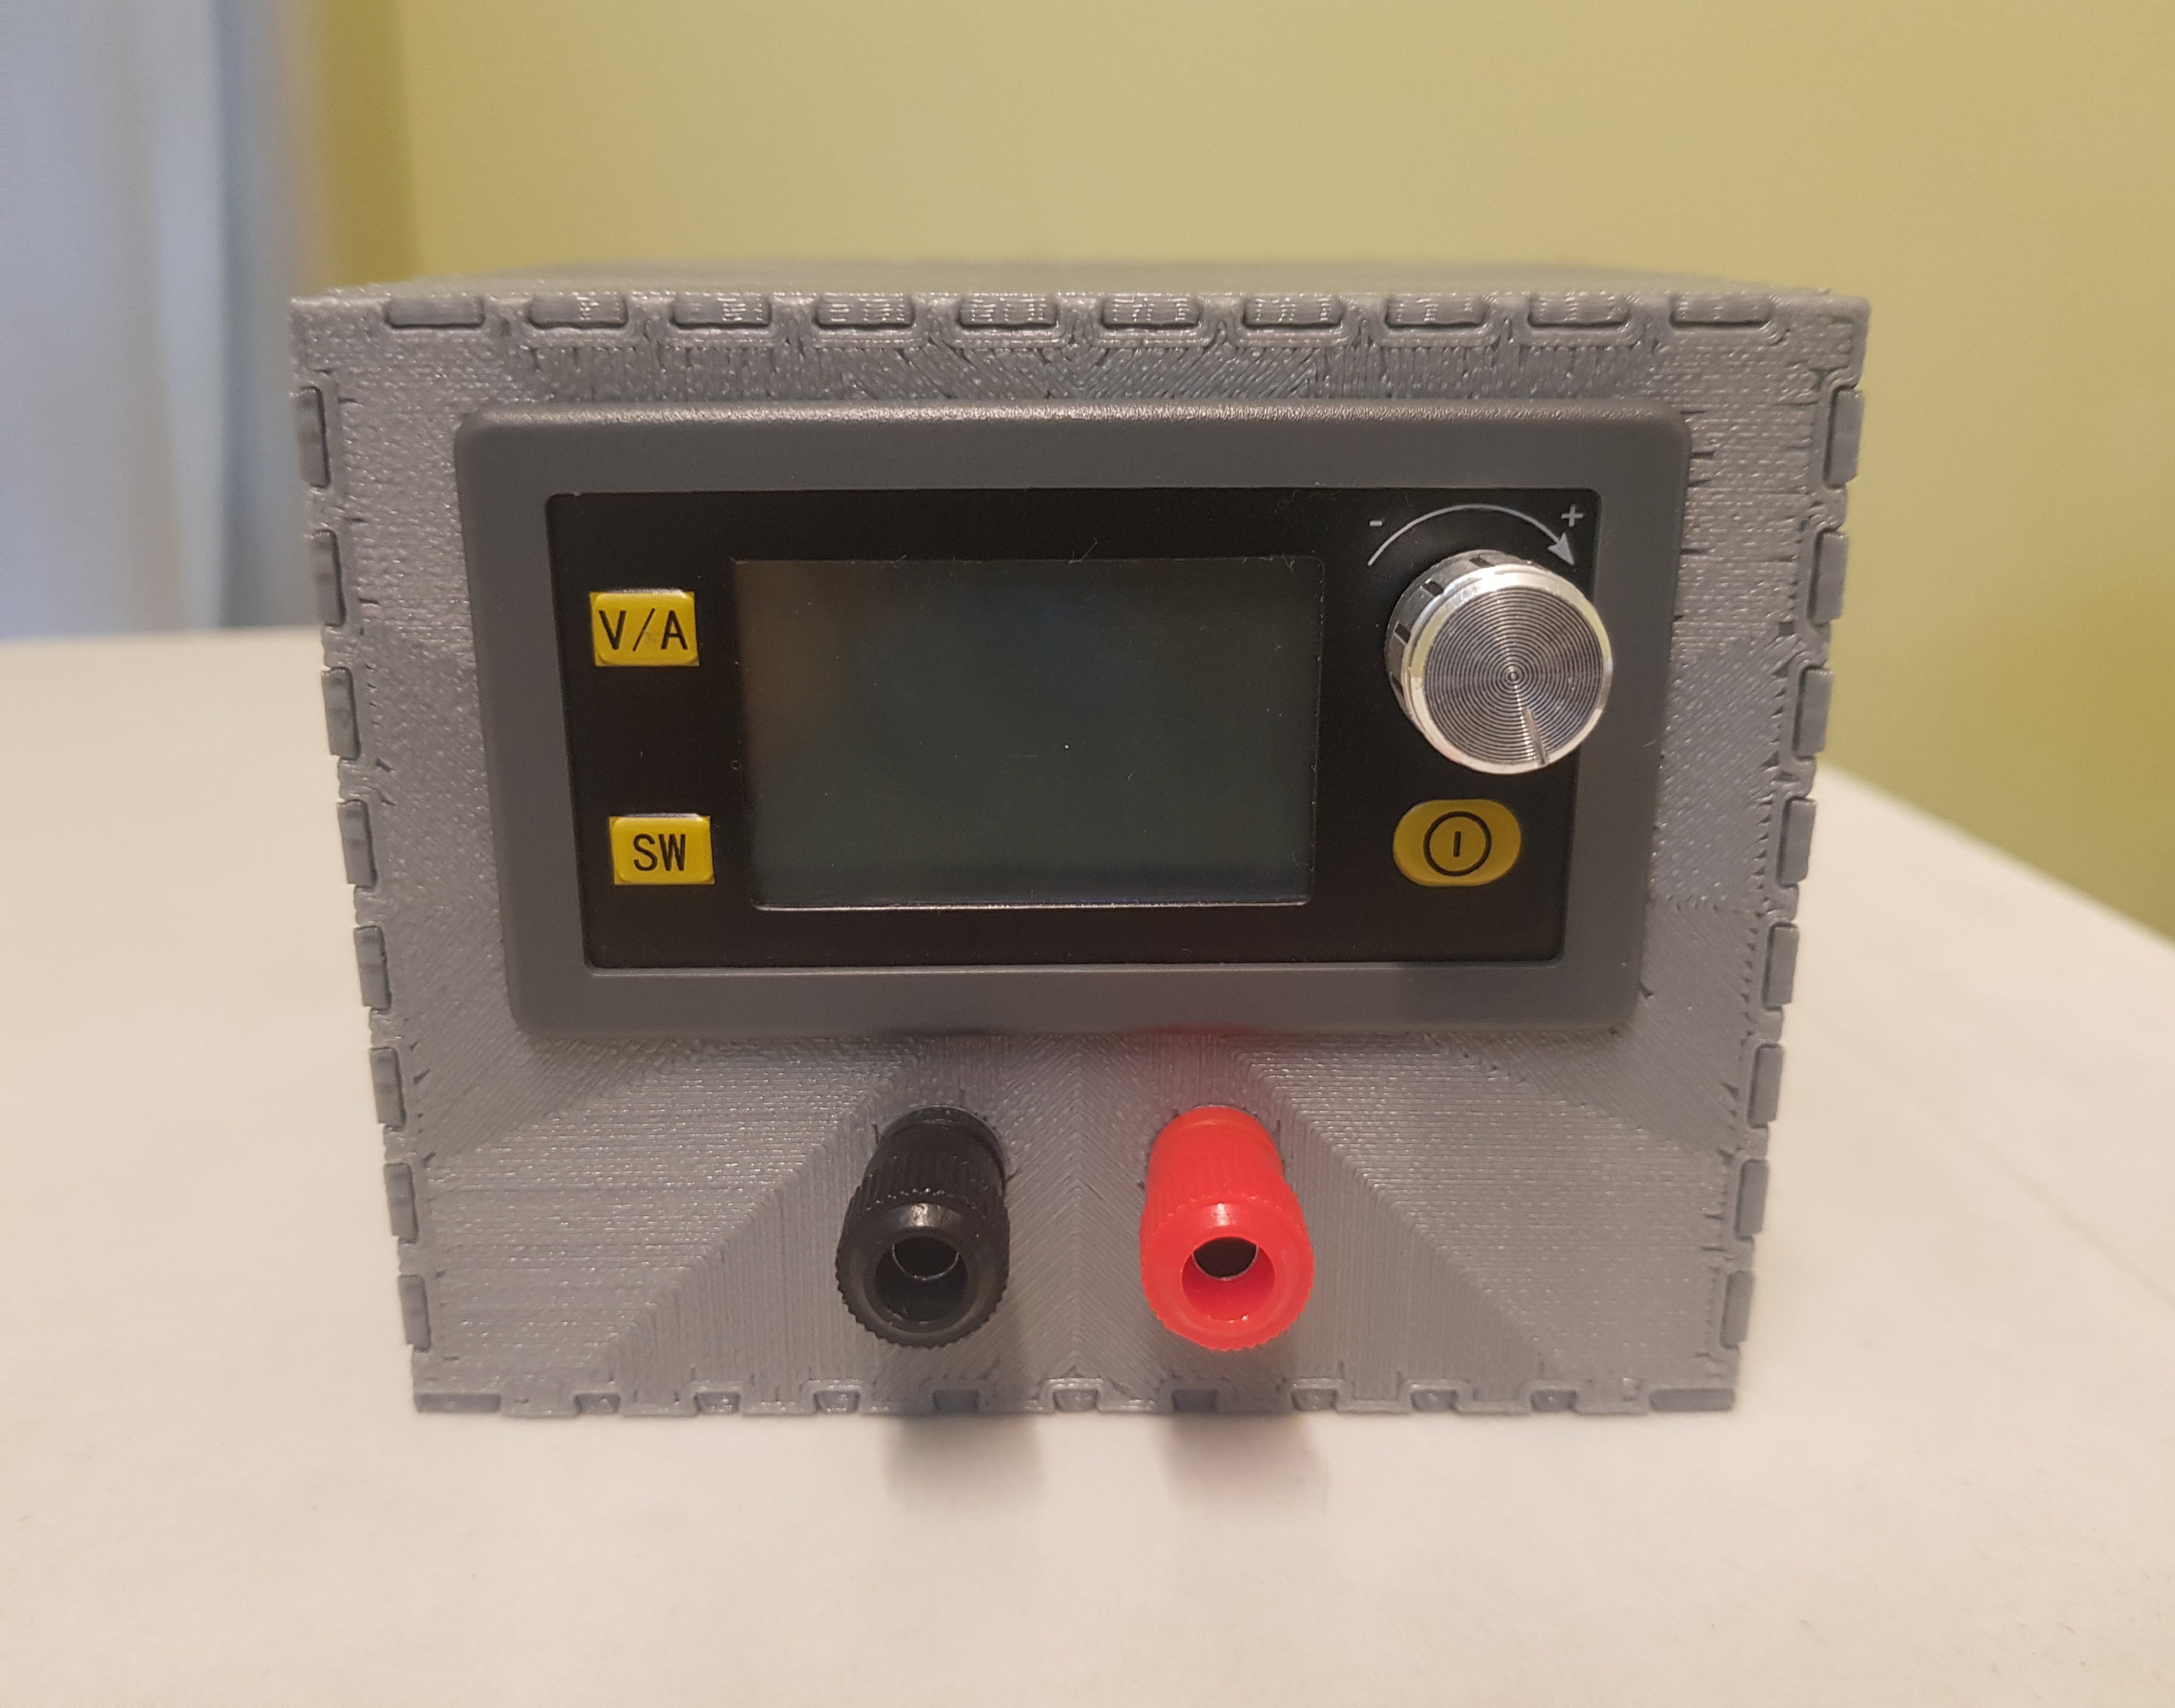
My wall power outlets at home do not have a center screw. Some 6 way splitters have a center hole so you can secure it to the outlet such that it won't pull away when you unplug something.
So I made this. It uses the existing screws from the wall plate.

The box is not printed as a single piece, but 6 modular plates joined with dovetail joints. Individual plates are relatively flimsy, but once assembled the box is rock solid.
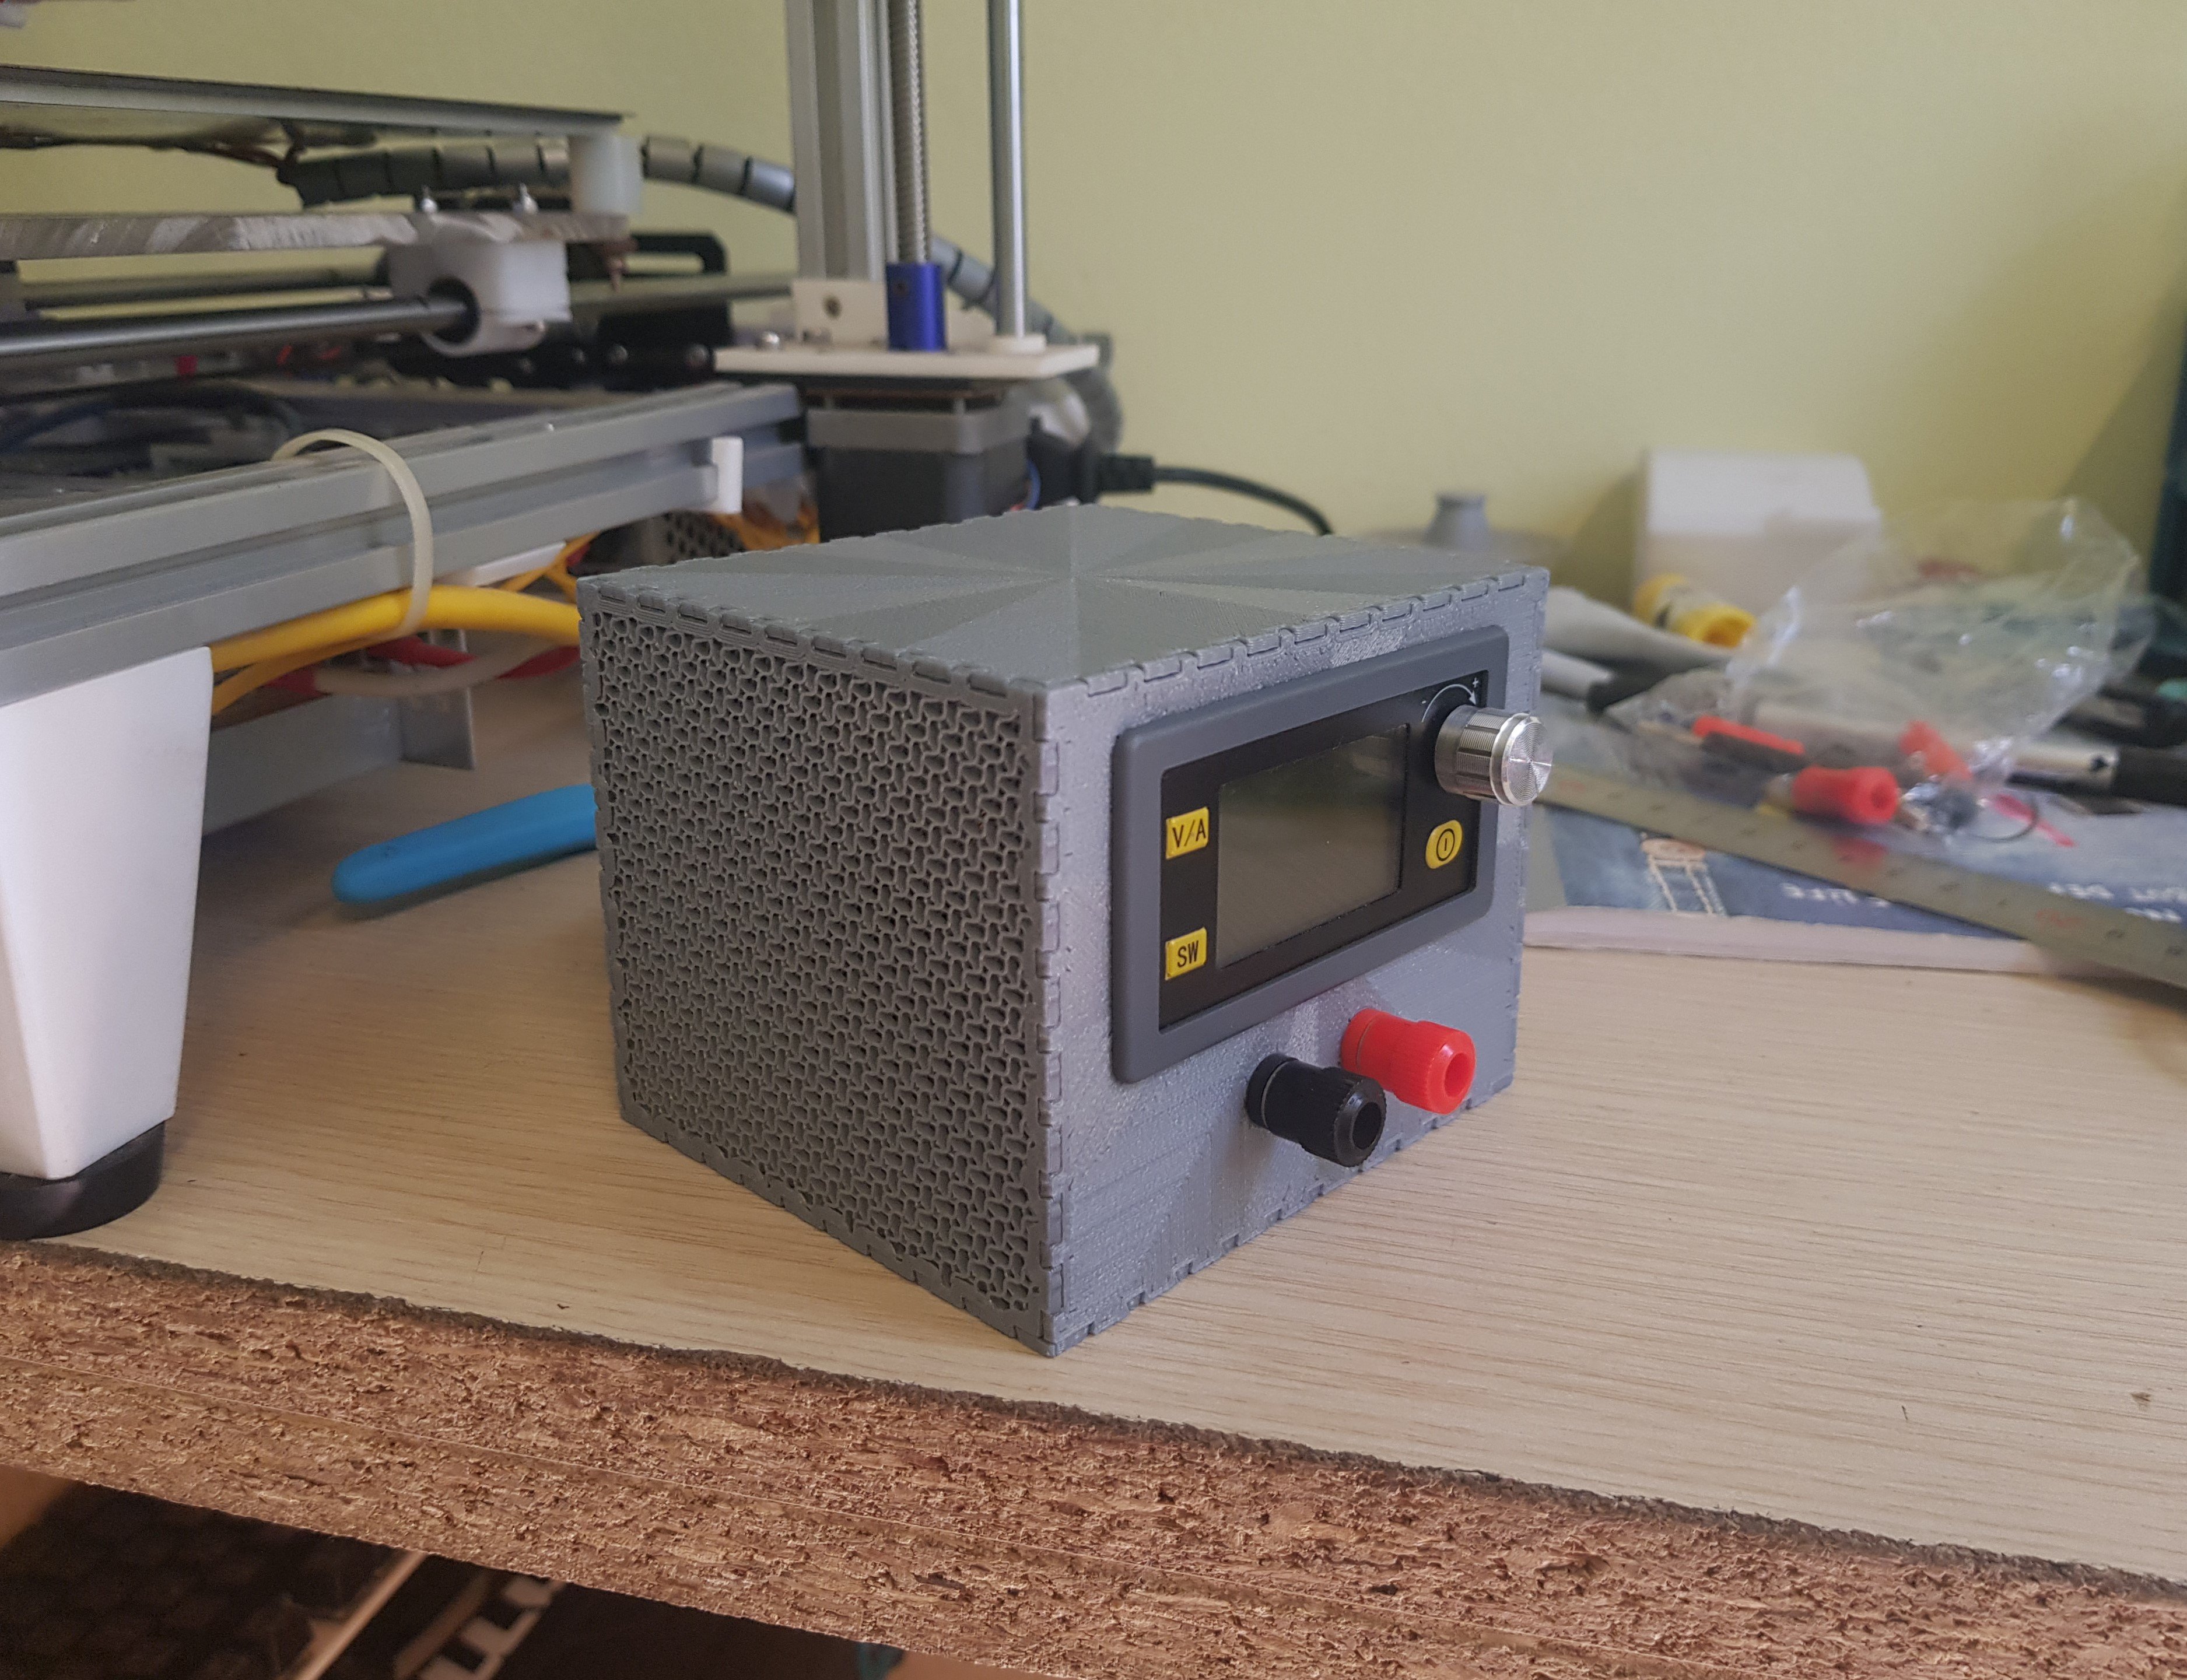
This way, it is much faster to print, and is stronger since the layer lines are protected. It also let me experiment with infill for some cool effects.

Closer look at the top pattern
Front pattern
You can't see from the images, but each plate is printed without top layers, which make it even faster to print and use even less filament, compared to a vertical wall of the same weight.

The back
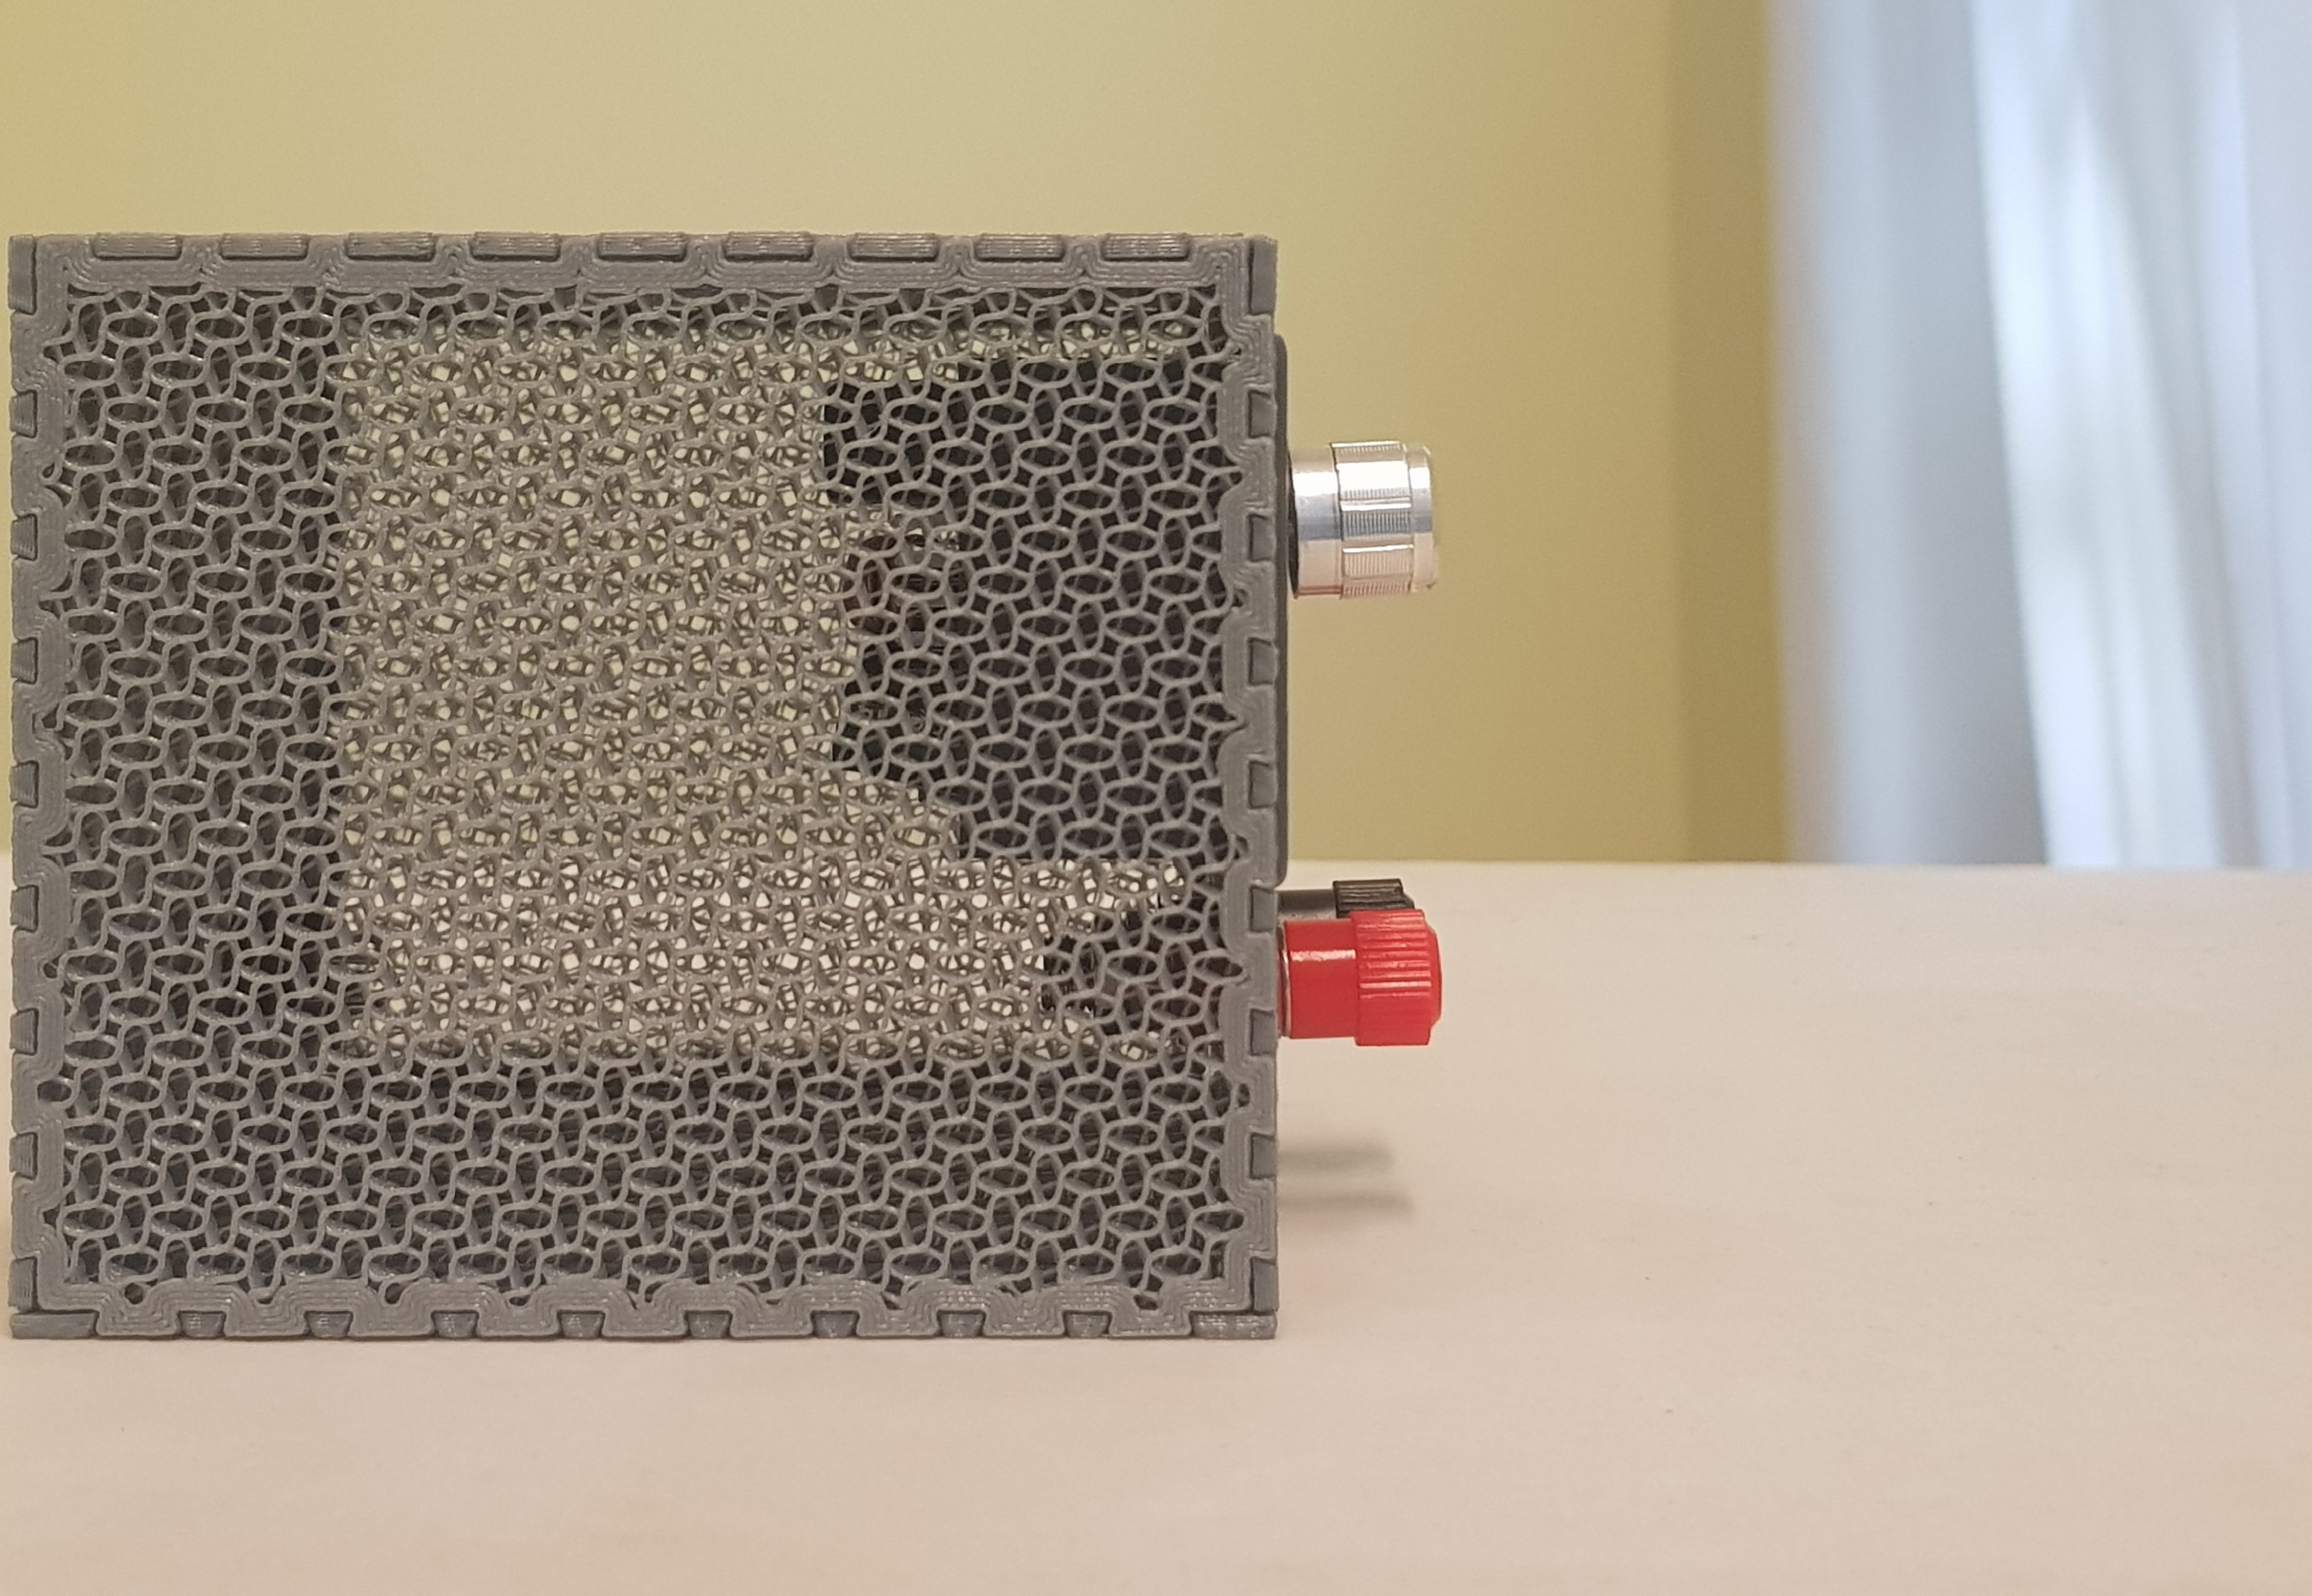
Gyroid air vent
I made this design so that I can take all of the gadgets and prototyping electronics that I work on and attach it to my laptop making my setup much more portable. I was too late on submitting for the magnet contest, but made an instructables guide on how to set it up. I also have a printables post for the 3D parts. I have mounts for Arduino Uno, a few breadboards, Pico GPIO expander, and more are on the way. Let me know what you guys think! :)

View without the ereader for those who are interested

Already designed a case for my 7.8 inch Nova 3 Color so the end result should look like this sans the pen holder

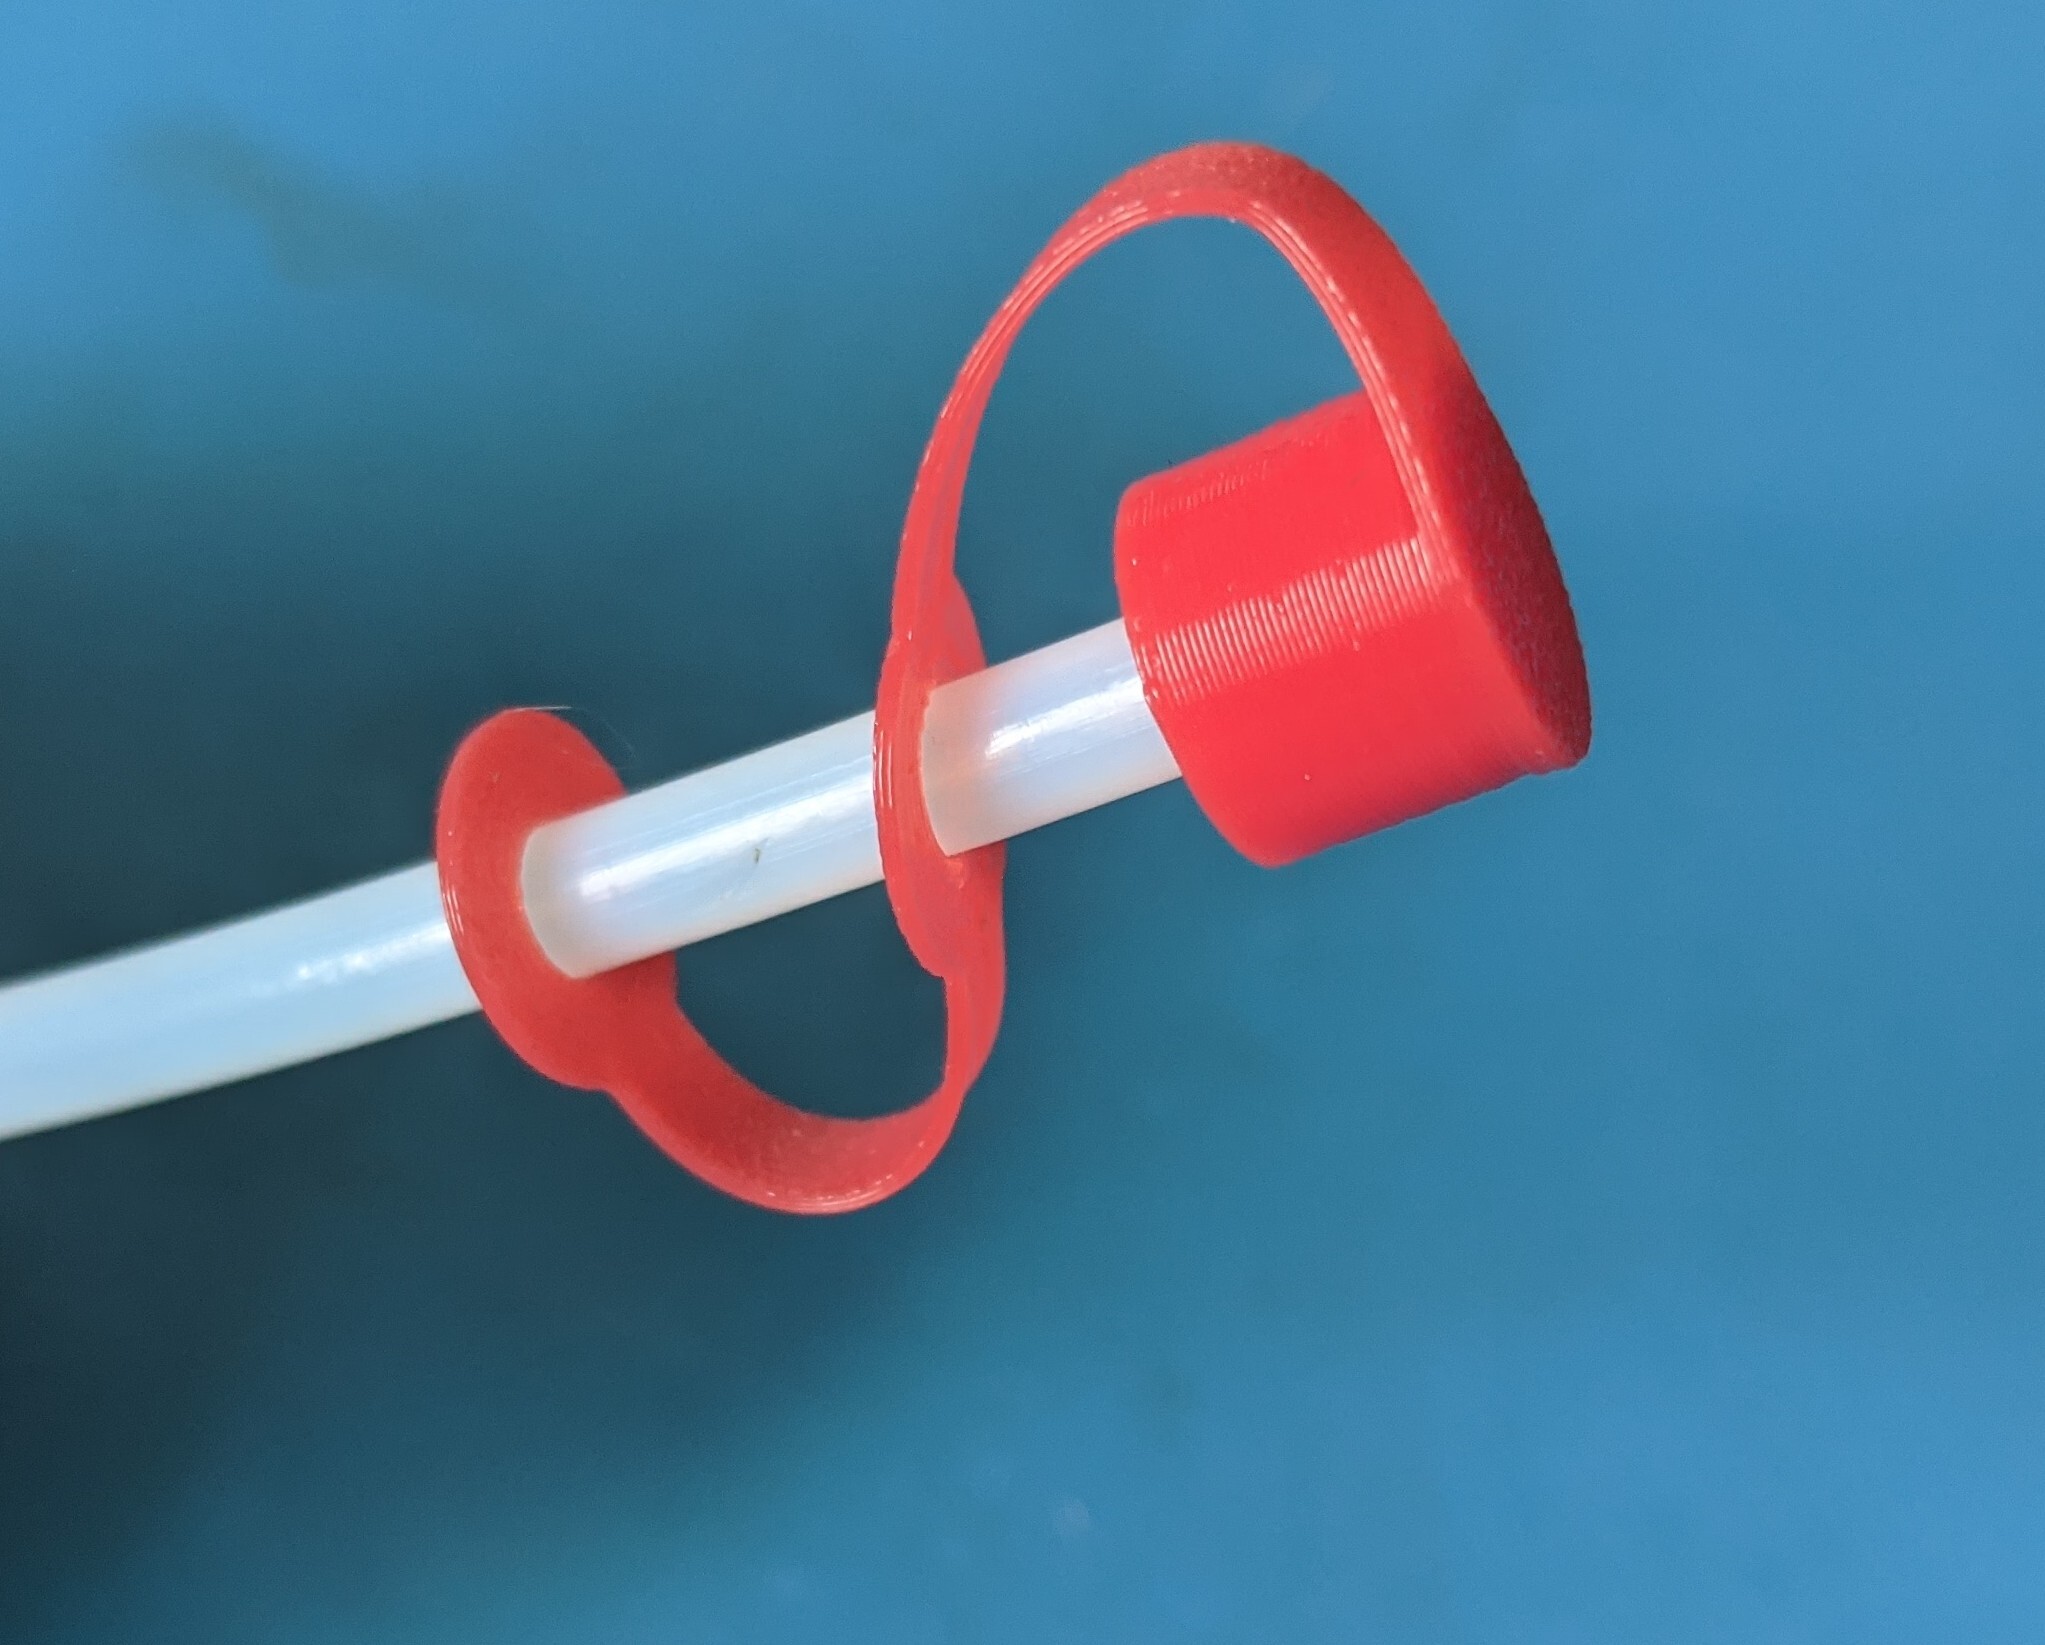
I designed these for my family who has a tendency to break and destroy their ereader cases. And this was to make it easy/simple to make a replacement arms (pink section) when they inevitability break.
So far mines held up 7 months without fault while my SO’s lasted 4 since their case sees a lot of action.

Just found this community and thought I'd share this
My first printer (sv06) just arrived a couple of days ago and it has already saved the day for my kid.
His RC car stopped turning, and after taking the controllwe apart I found that the piece that actually turns the box inside was broken
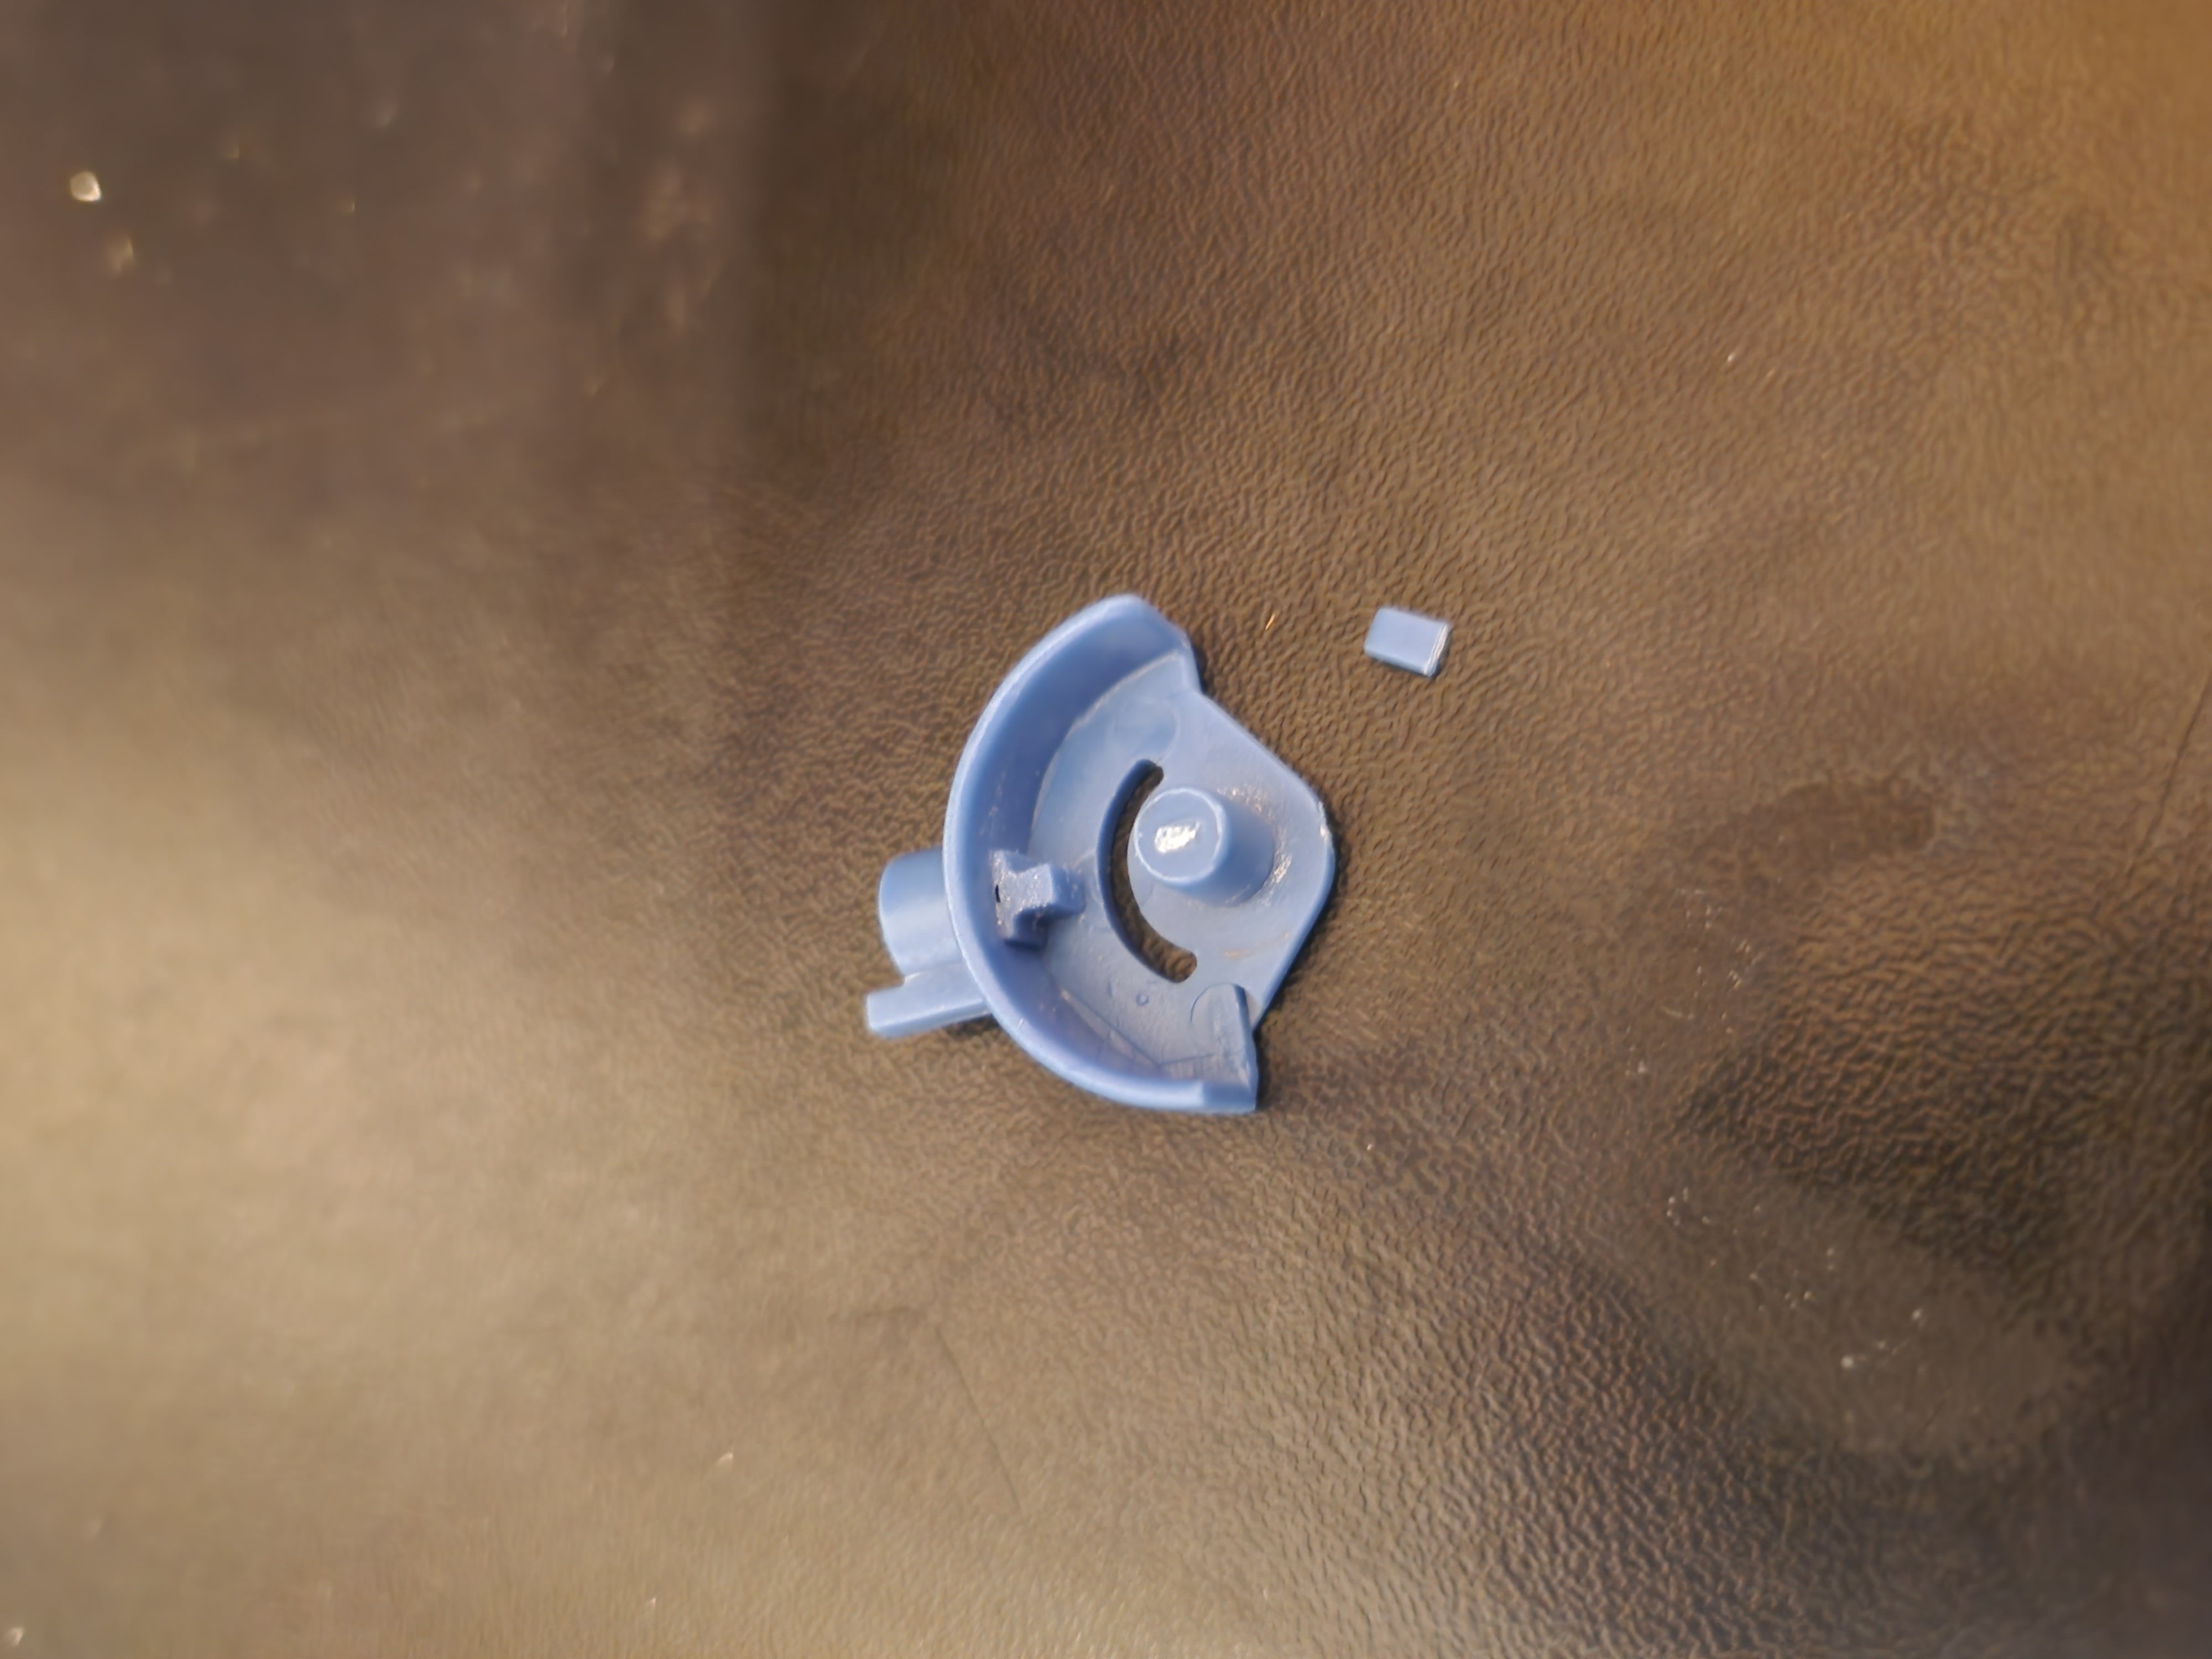
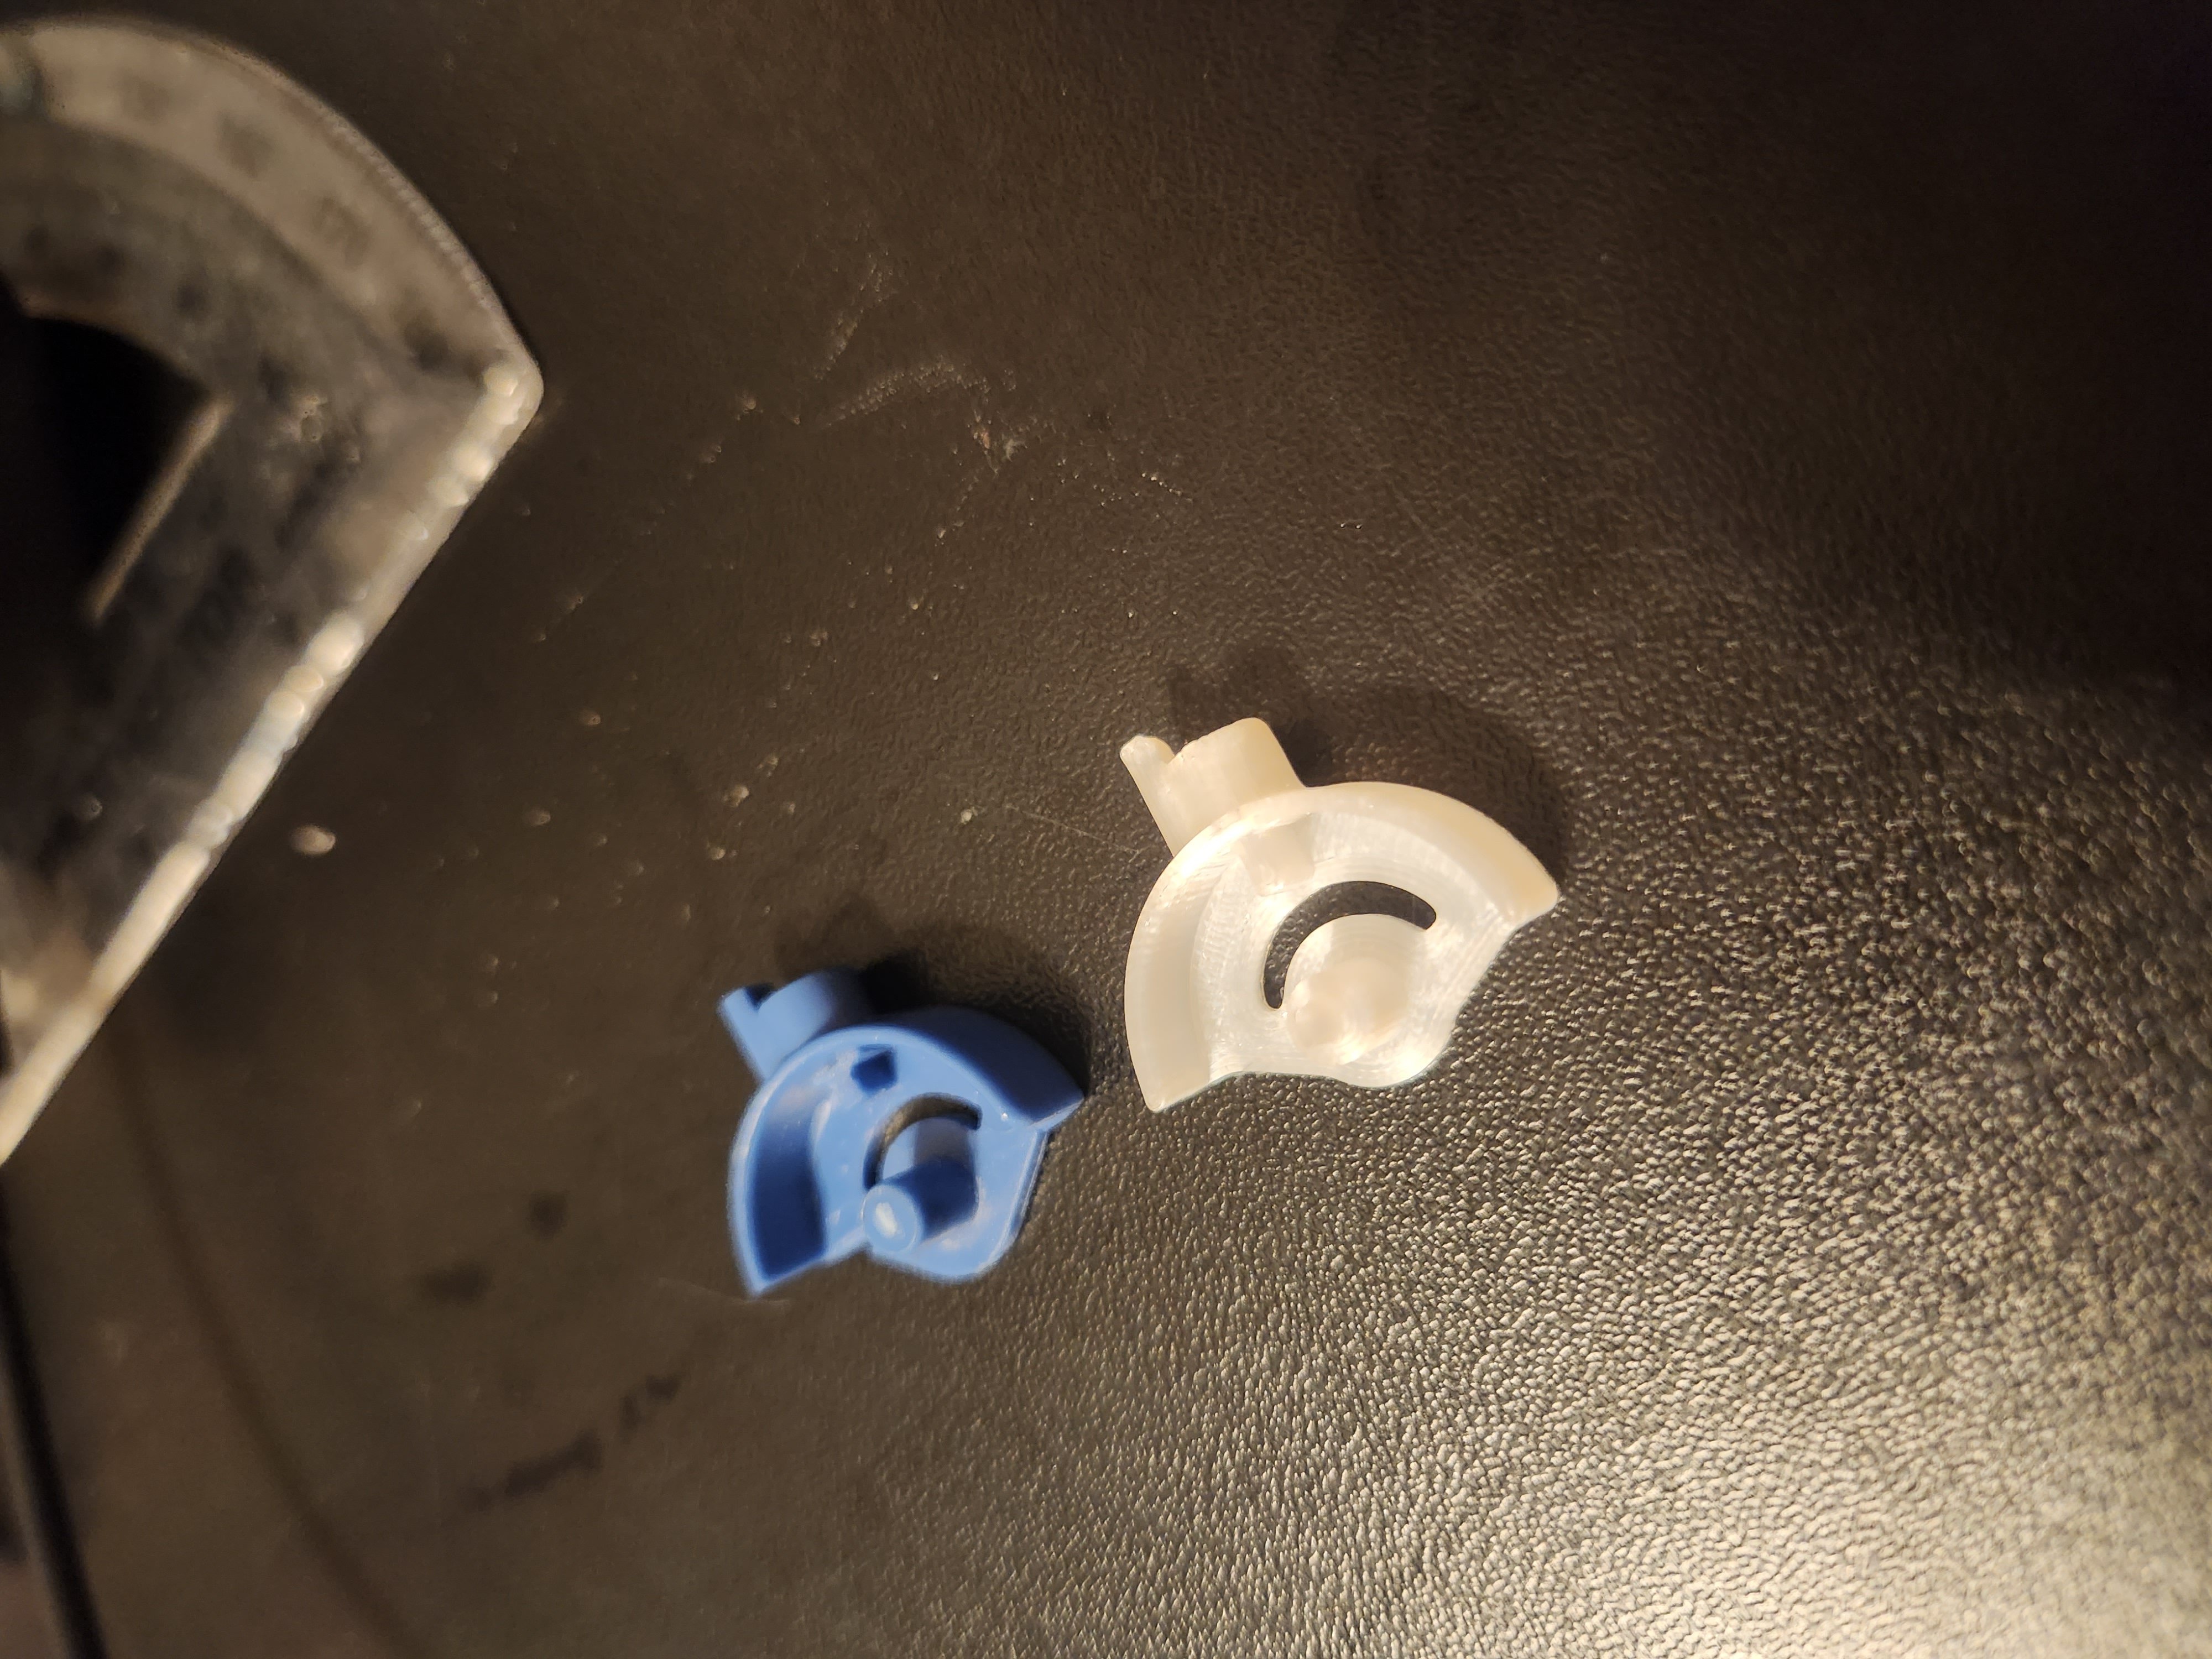
I measured everything with my calipers and struggled with it in fusion 360 for way too long, had to make adjustments and print again, and finally got this:
Put everything together and...
Success!
The original was held in with 2 big screws, stapels and a prayer. This is held in with 3 machine screws, the 2 big guys and it ain't going anywhere.